News
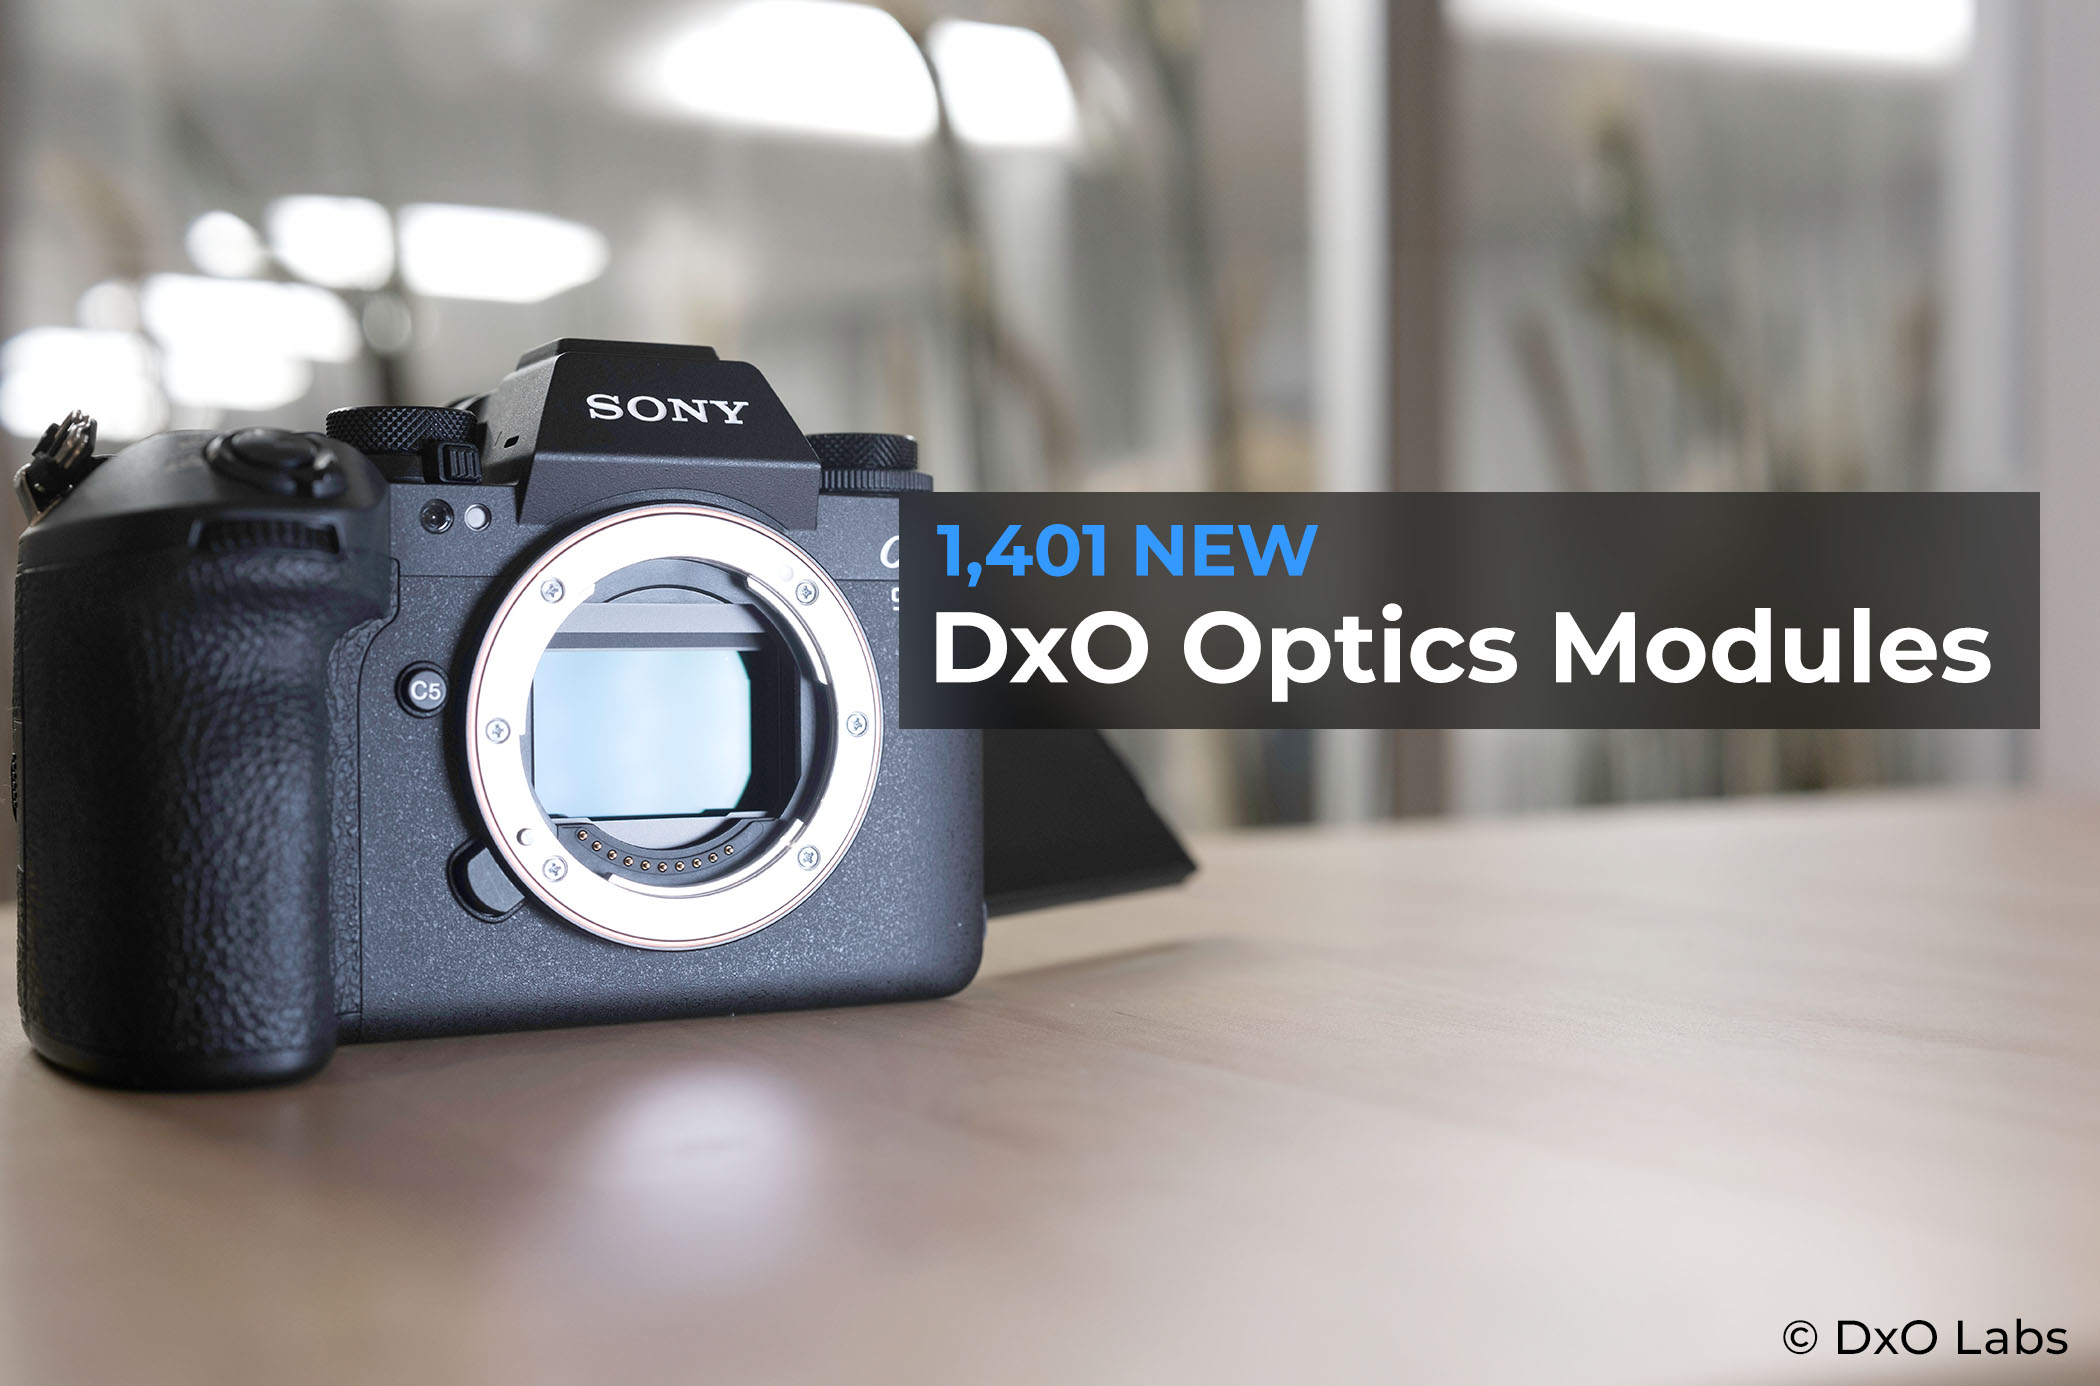
DxO announces immediate software support for the revolutionary Sony A9 III and more
The revolutionary Sony A9 III spearheads latest DxO Optics Modules release.
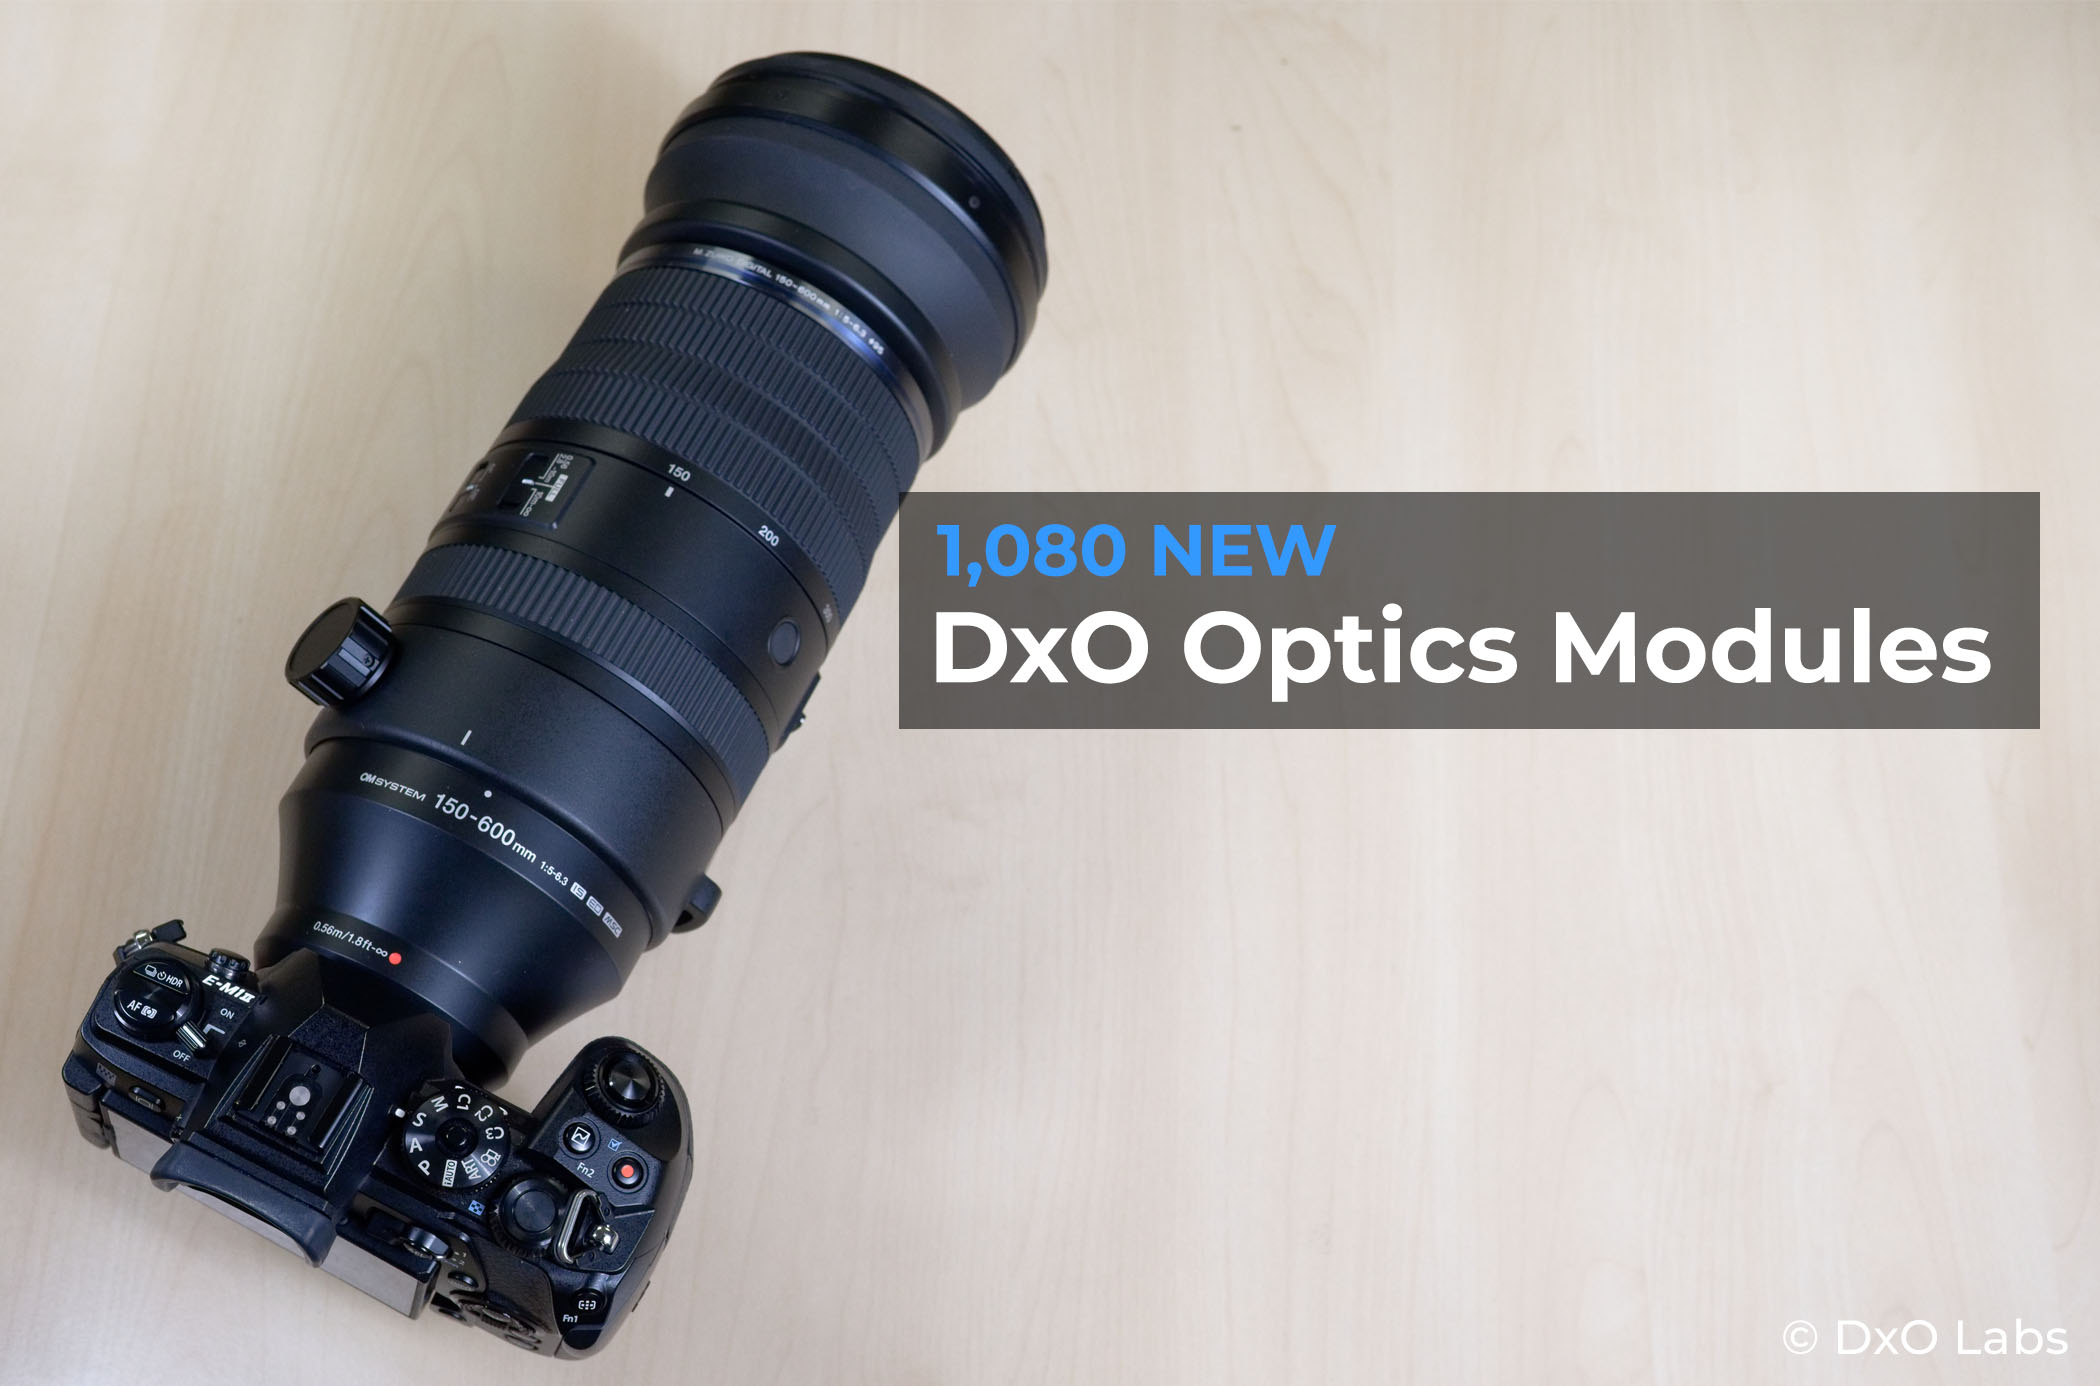
The extraordinarily long OM System M.Zuiko Digital ED 150-600mm zoom, and more, among latest DxO Optics Modules release.
The extraordinarily long OM System M.Zuiko Digital ED 150-600mm zoom, and more, among latest DxO Optics Modules release.
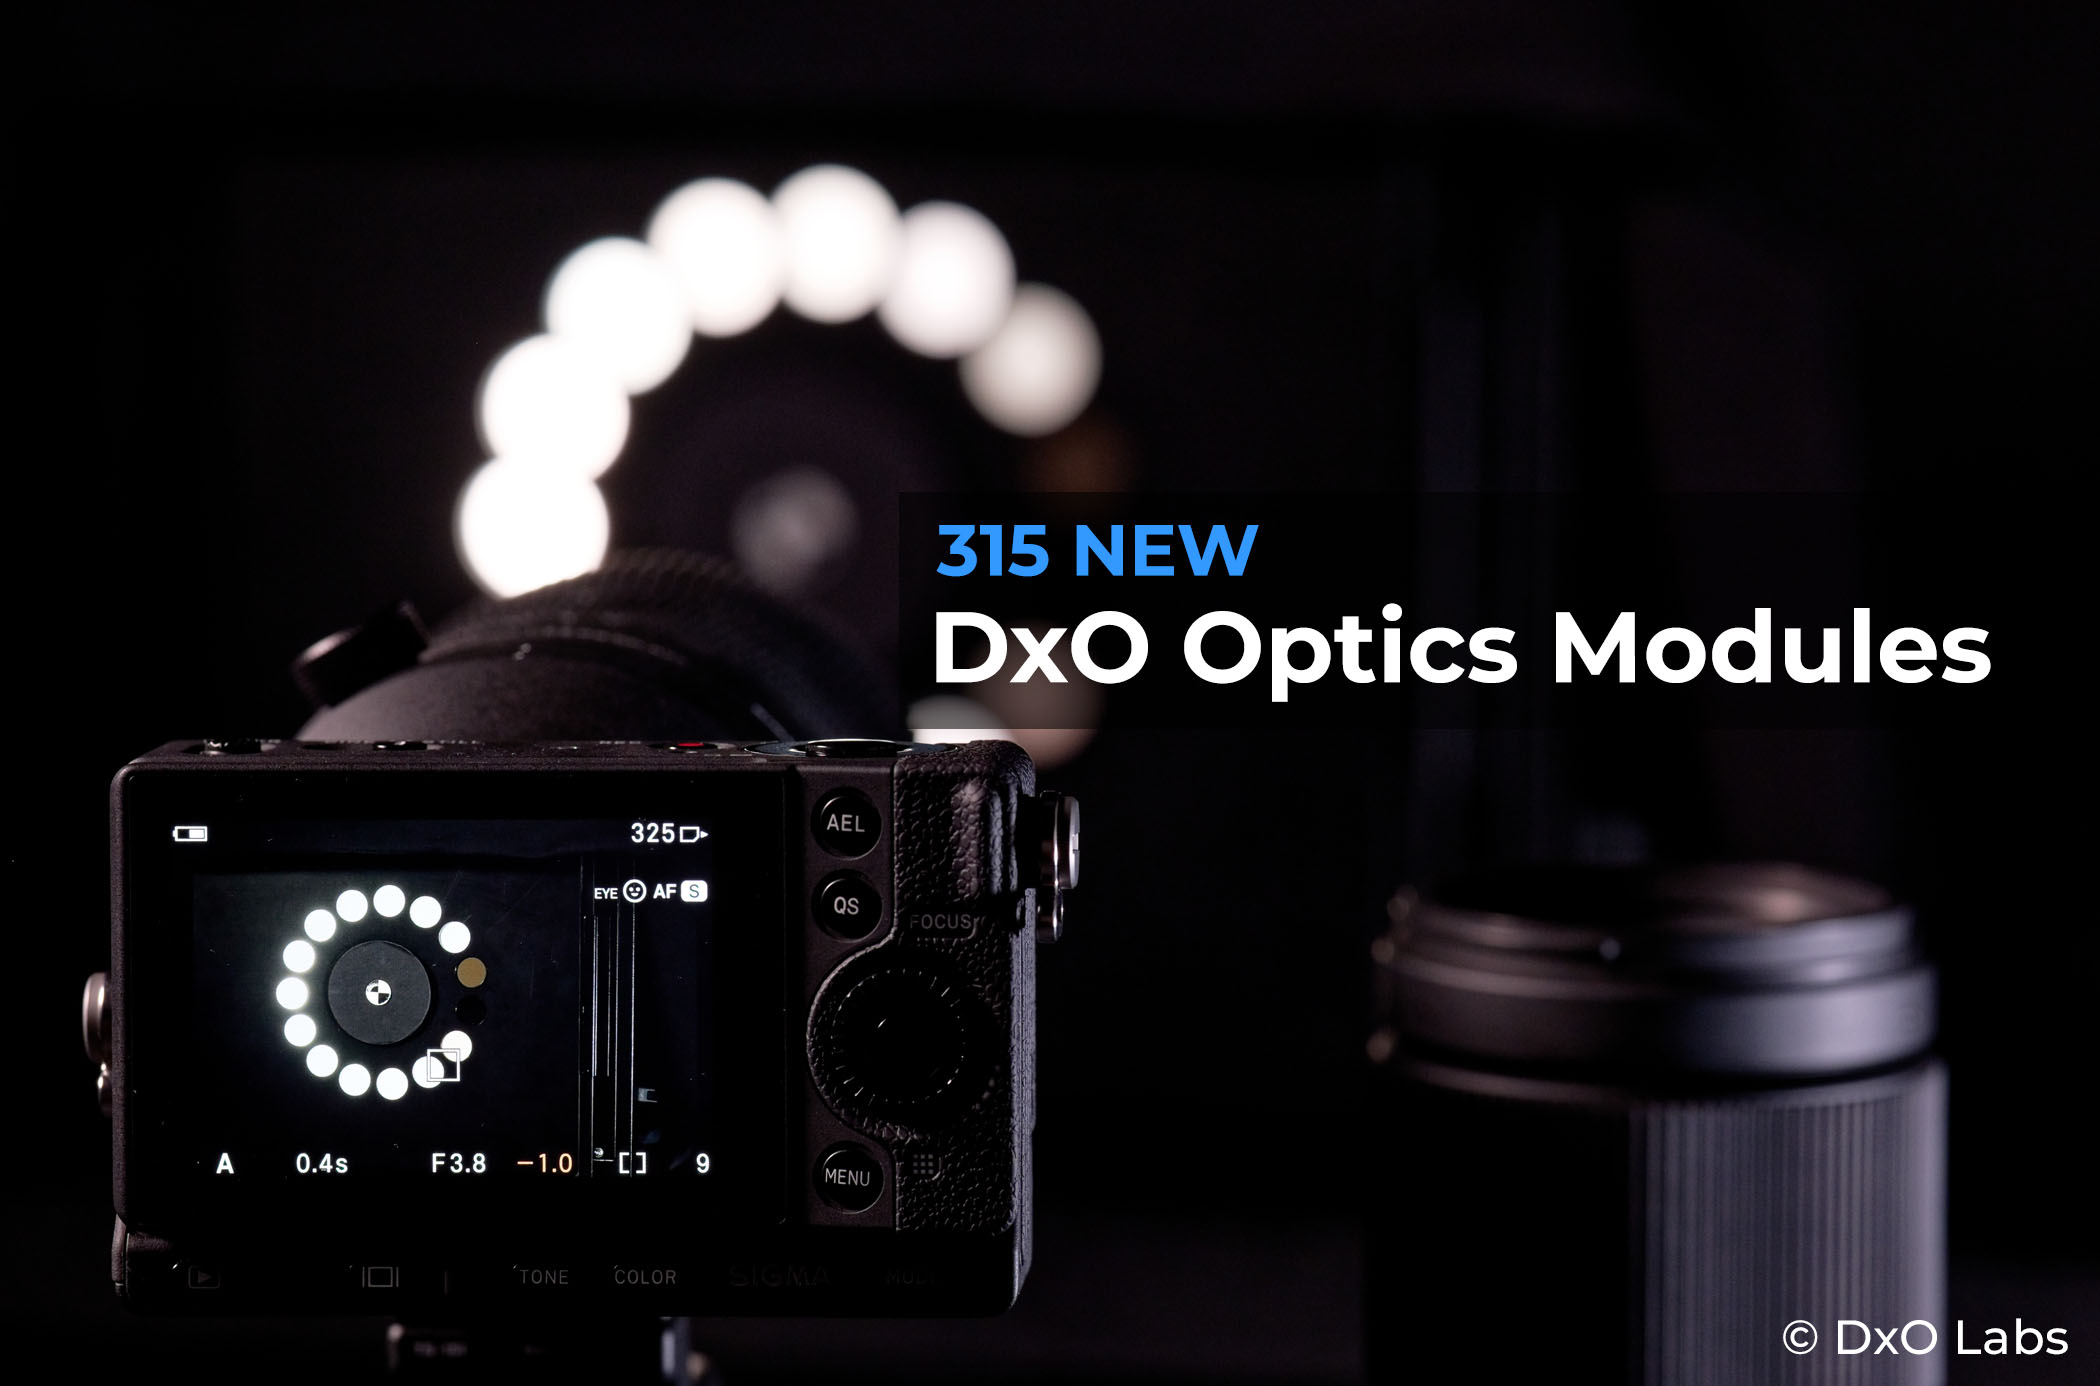
DxO announces software support for Canon’s exciting compact 10-18mm RF-S lens, and more.
Support for Canon’s exciting compact 10-18mm RF-S lens amongst latest DxO Optics Modules release.
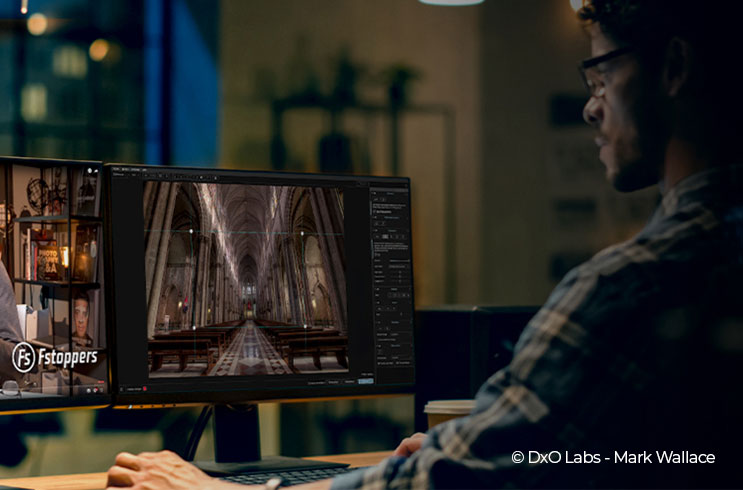
Enter our $2,000 competition and, when you buy DxO ViewPoint 4, get a free Fstoppers tutorial!
Only until February 15, 2024
DxO reveals support for more phenomenal photography gear, including the innovative Nikon Zf
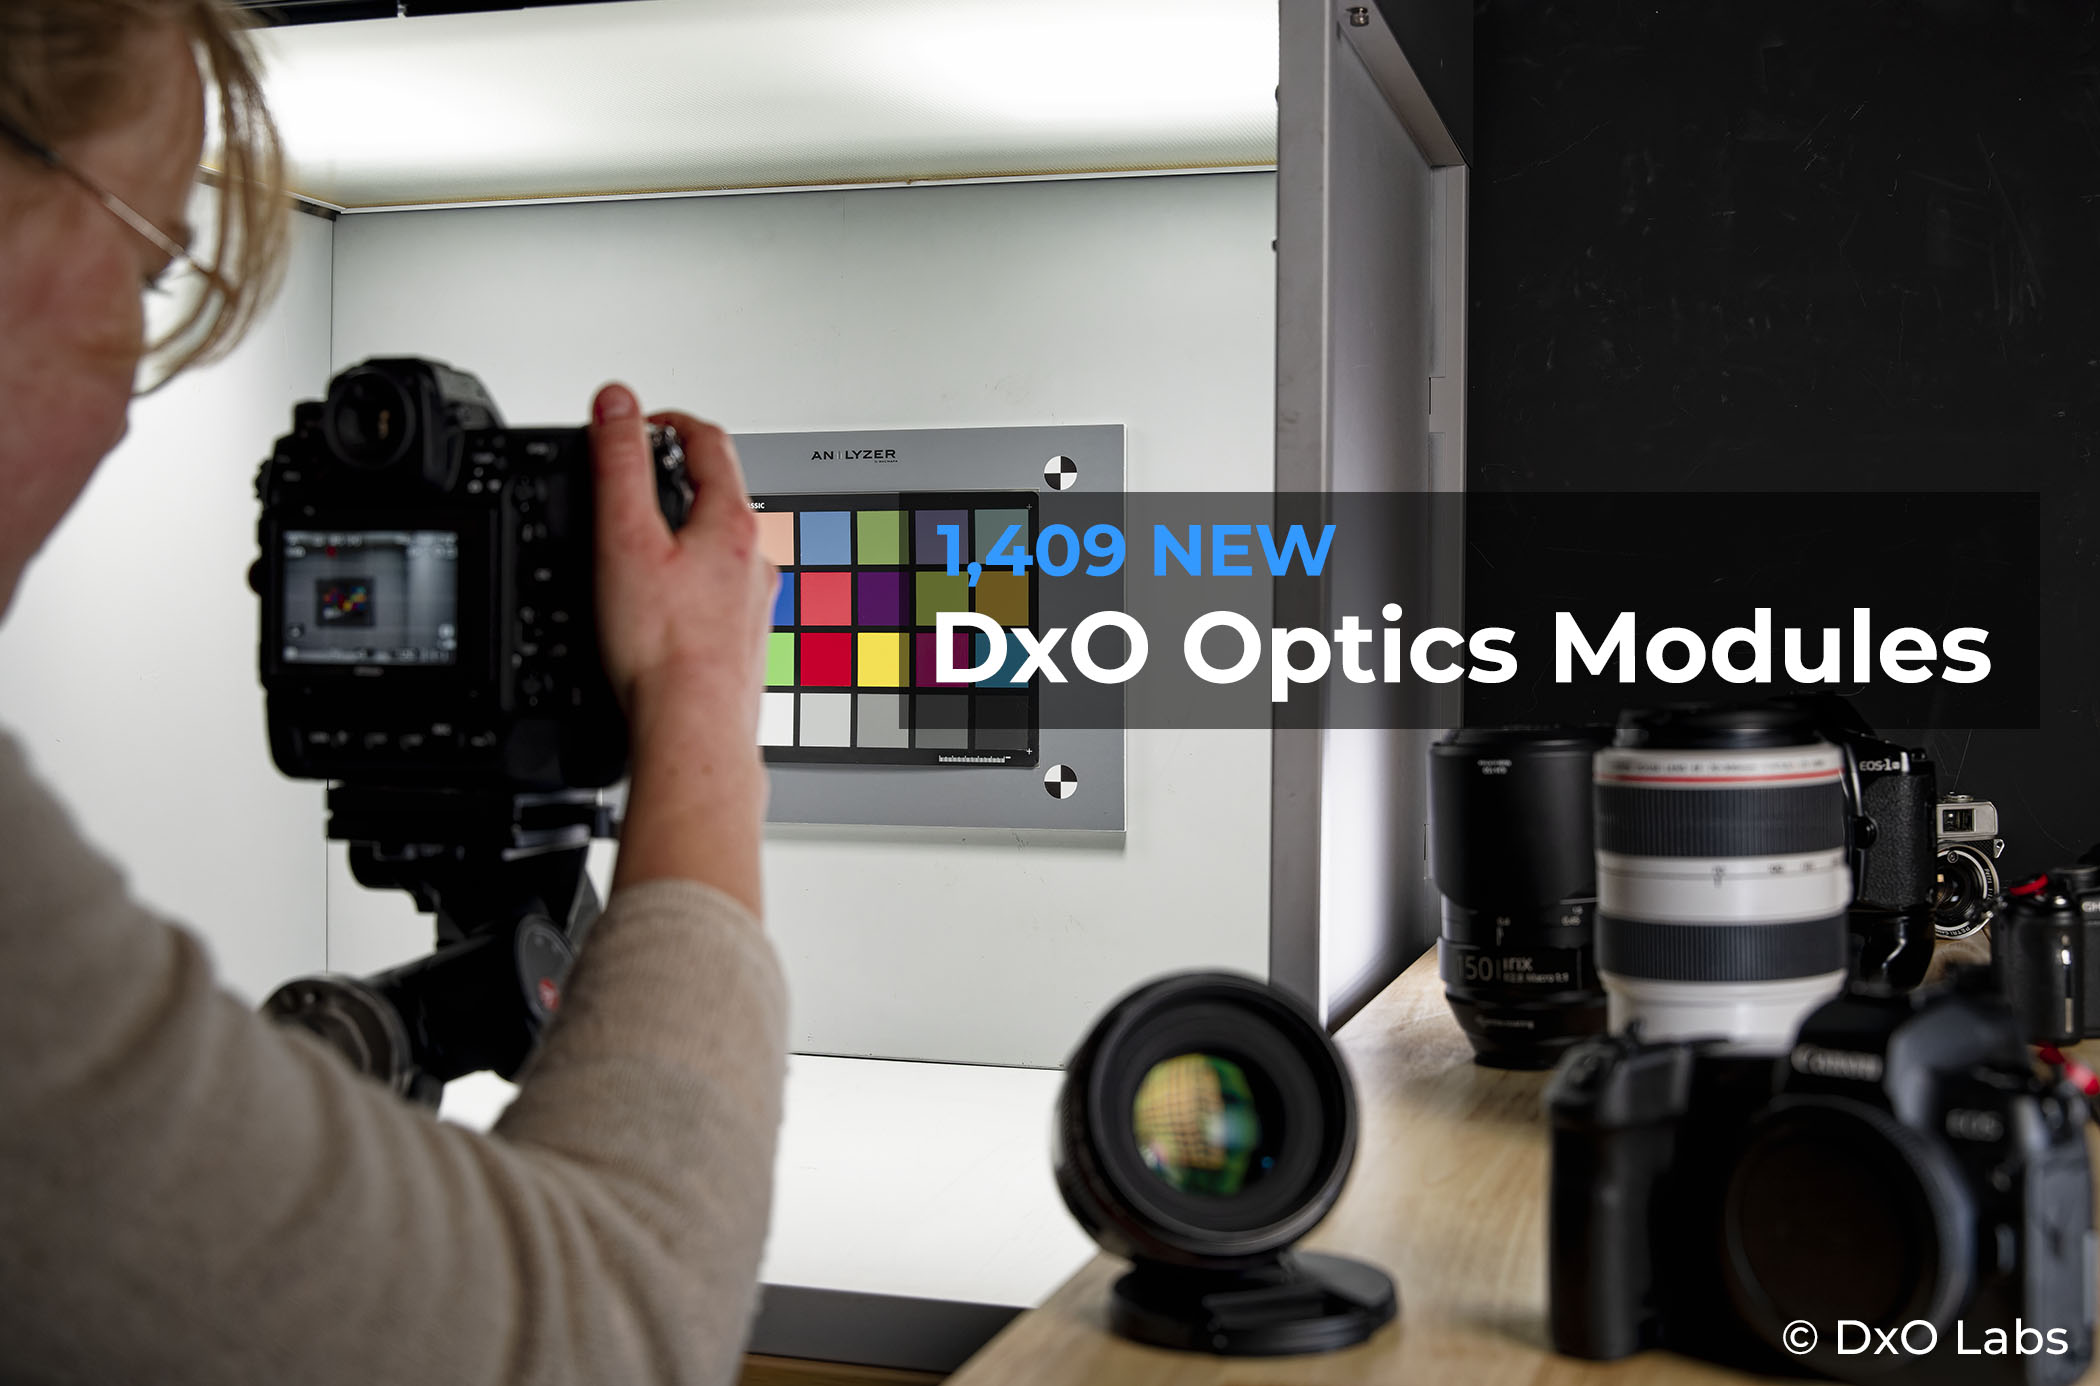
1409 new camera and lens profiles are available to users of DxO software from today.
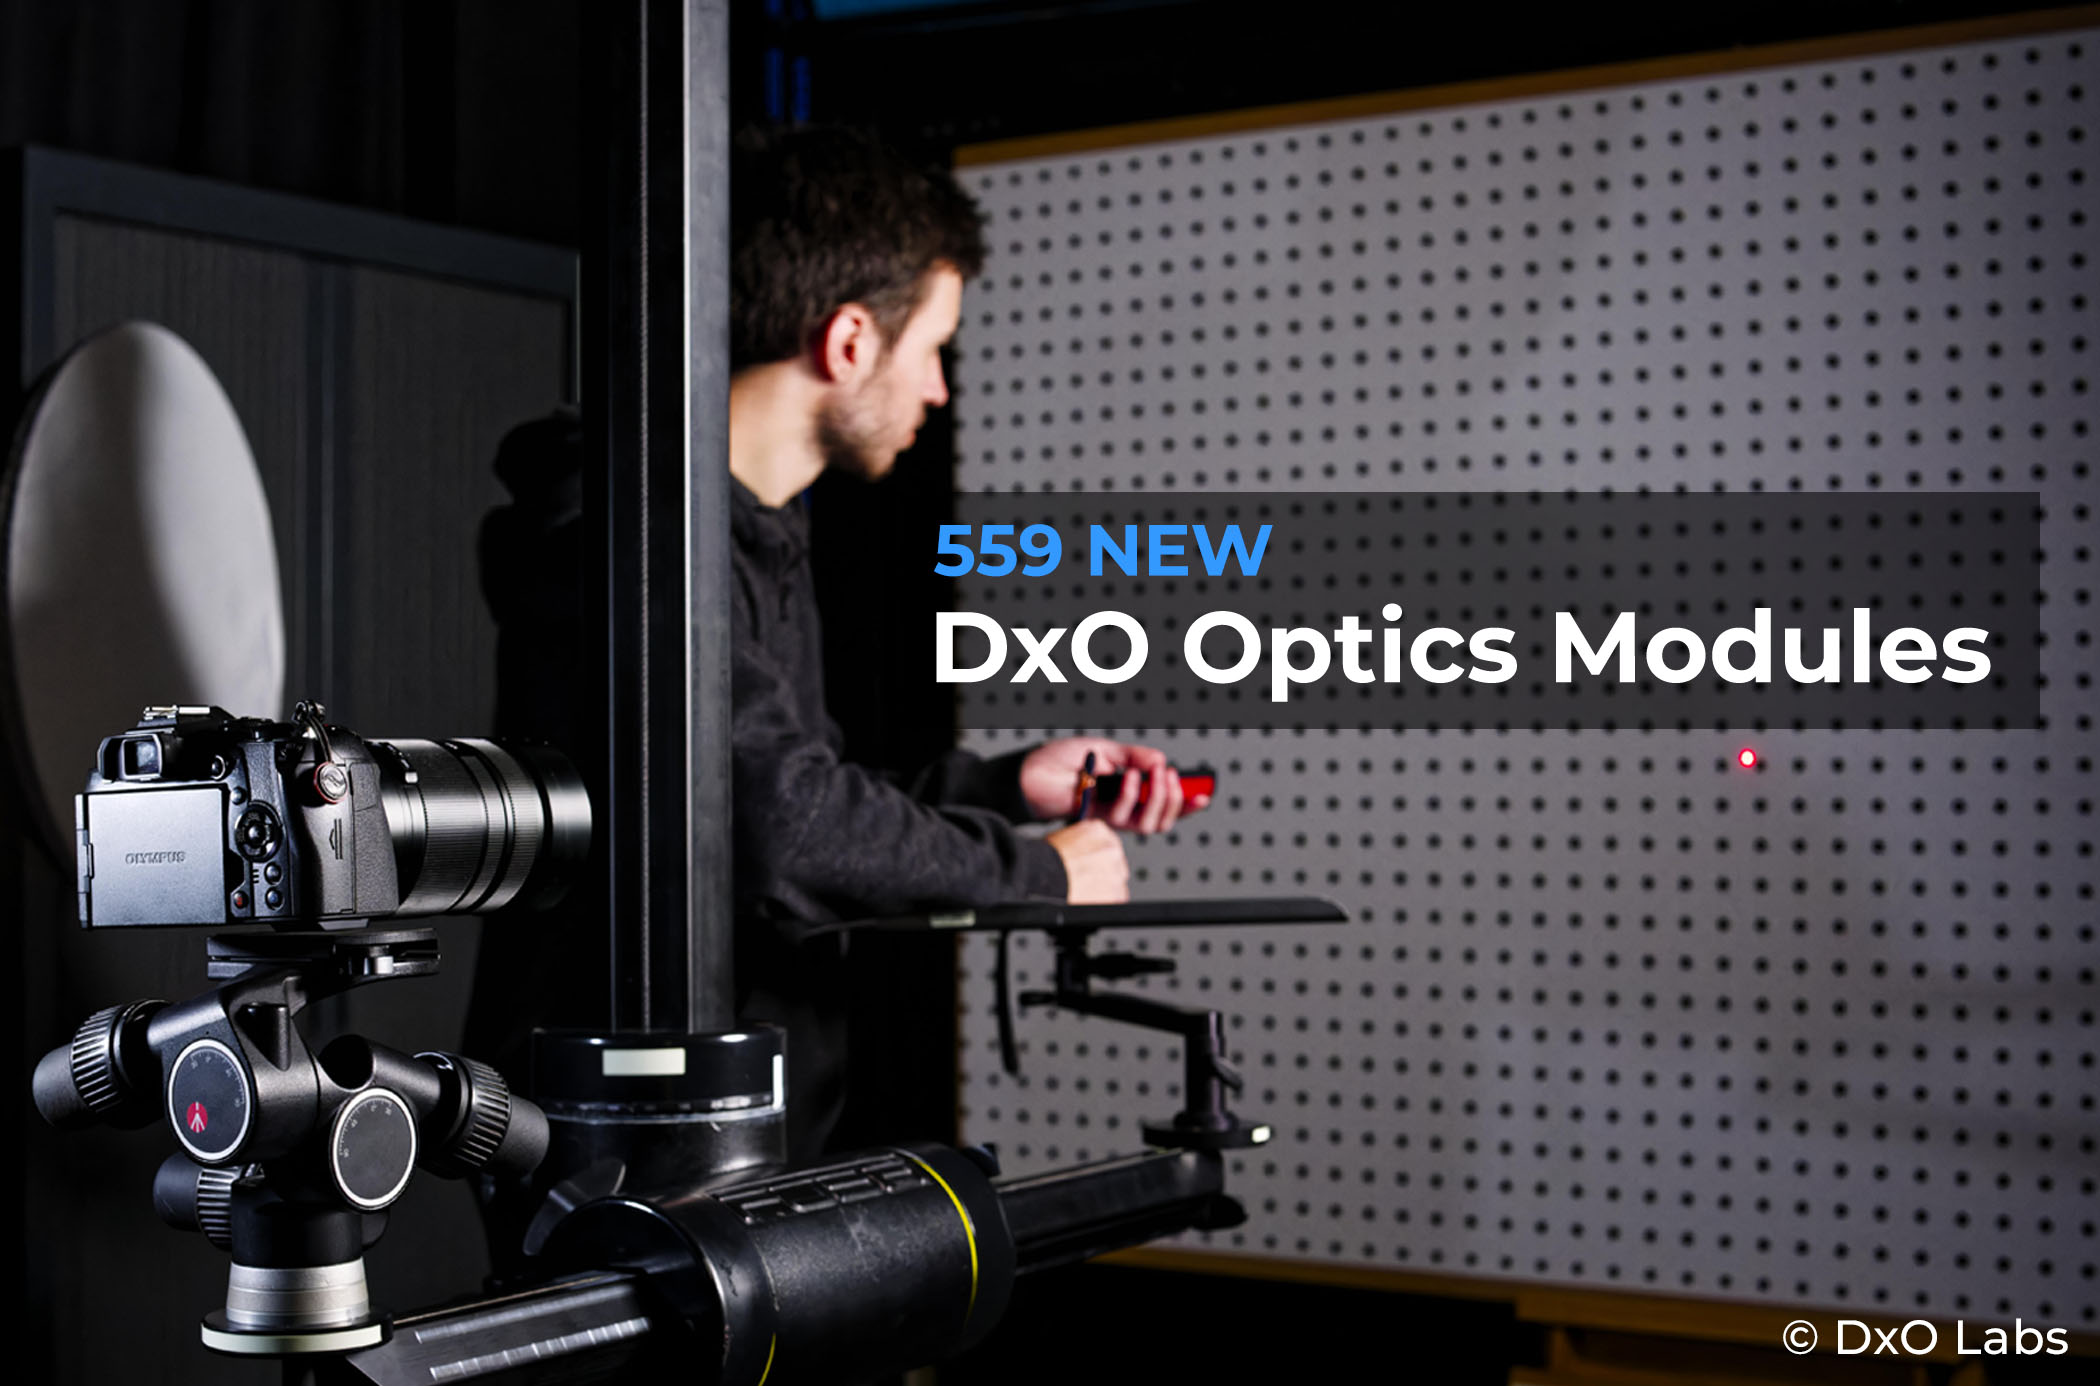
559 new DxO Optics Modules that push your photography gear to the limit
Push the performance of your new Nikon, Canon, DJI, Viltrox, and Tokina gear to the limit with the latest DxO Optics Modules.
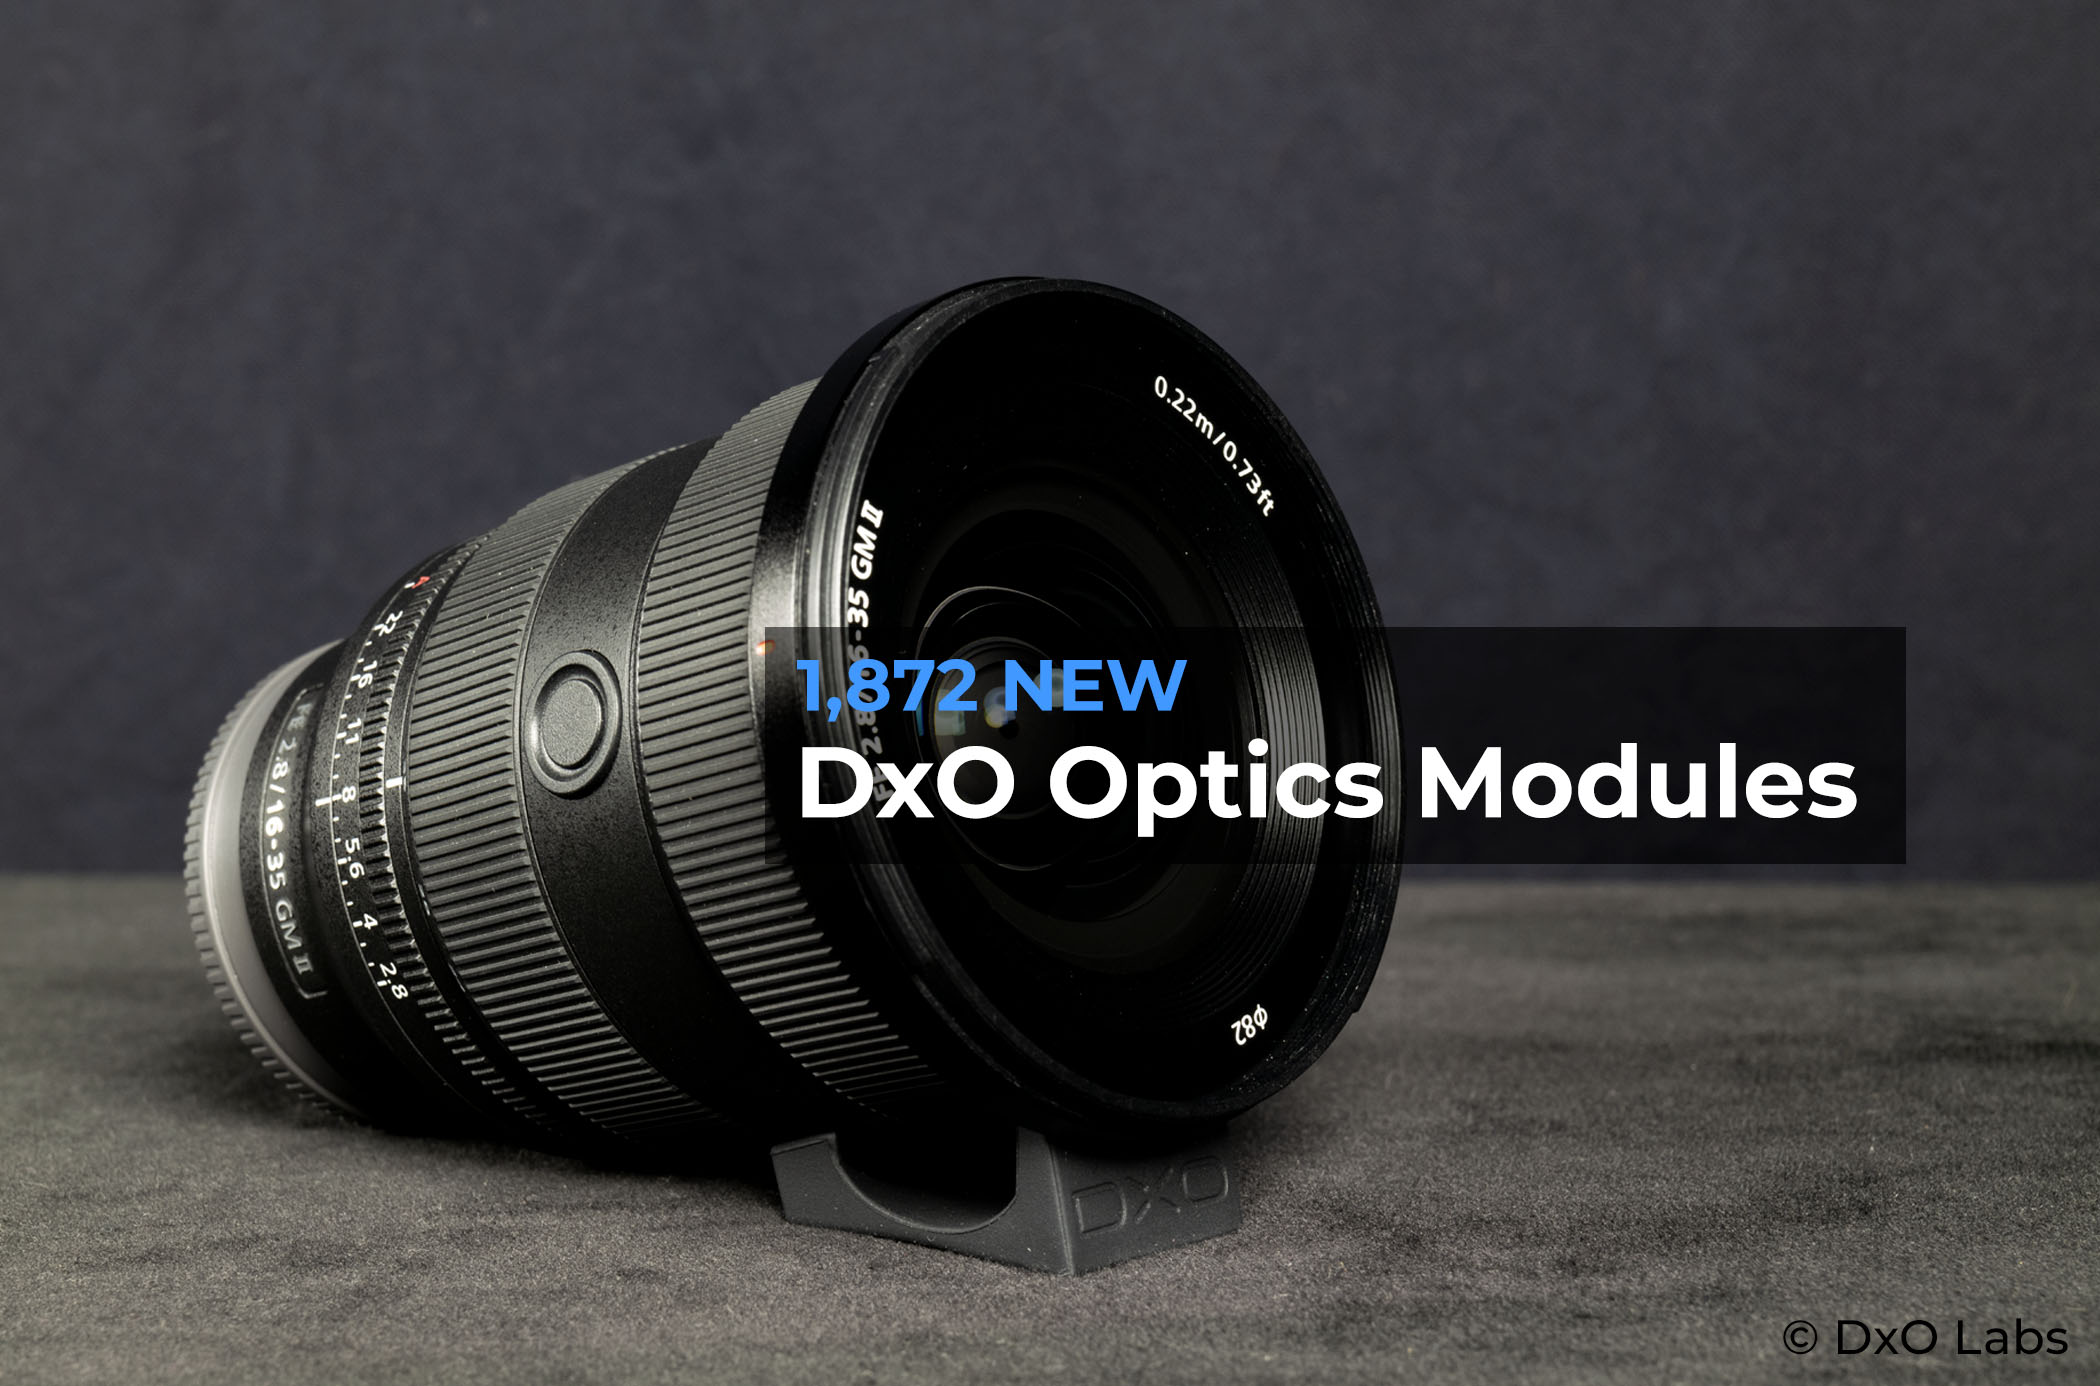
These 1,872 new DxO Optics Modules make your cameras and lenses better
Enjoy maximum performance from your Sony, Fuji, DJI, Leica, Tamron, and Tokina gear – all thanks to the latest DxO Optics Modules.

The Glow of Paris: DxO Labs Presents Gary Zuercher’s Photo Exhibition
Welcome to ‘The Glow of Paris’, proudly sponsored by DxO Labs. Through this captivating exhibition, we invite you to experience the enchanting beauty of the City of Light through the lens of American photographer Gary Zuercher.

DxO PhotoLab 7: Committed to color
PhotoLab 7 is the most advanced photo editing software on the market for color — creatively, technically, and at every step of the workflow.
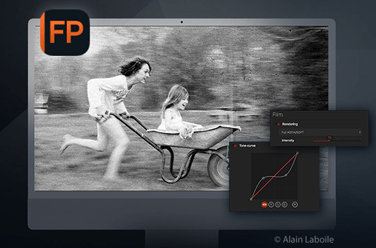
DxO FilmPack 7: Our tribute to the timeless magic of film photography
FilmPack 7 revives the darkroom for the digital age so that you can rediscover the soul, character, and magic of film.
1,185 new DxO Optics Modules for breathtakingly better images
Get improved performance from Sony, Canon, Nikon, Sigma, and Leica equipment thanks to the latest Optics Modules from DxO.

Today is a big day for Nik Collection
Six years ago, Nik Collection was about to disappear. Discover how DxO kept it alive and why v6.3 marks a major moment in the software’s history.
1,528 new DxO Optics Modules — improved image quality for Canon and Sony’s latest cameras
Support arrives for Sony and Canon’s latest cameras, along with a long list of lenses.
With DxO’s 369 new Optics Modules you get sharper shots on Canon, Nikon, DJI – and more!
Get the best possible performance from Canon, Nikon, and DJI equipment with DxO’s latest batch of Optics Modules.
1,454 new DxO Optics Modules
DxO’s pioneering lens and camera corrections give you more from your equipment compared to other software. Discover the new gear that’s now supported.
DxO’s 249 new Optics Modules instantly upgrade Nikon, Sigma, Fuji, and Hasselblad gear
DxO’s Optics Modules are key to unlocking performance. Discover all of the new gear from Nikon, Fujifilm, Sigma, and more that is now supported.
DxO Releases 1,192 Optics Modules
Canon’s latest bodies and lenses get the DxO treatment, giving users the best possible performance. Discover the rest of the equipment now supported.
DxO releases 351 new Optics Modules
DxO works tirelessly to help creative photographers achieve the ultimate image quality from their gear. These latest updates are available now for users of DxO PhotoLab and DxO PureRAW as well as for DxO FilmPack, DxO ViewPoint, and Nik Perspective Efex as part of the Nik Collection.

What are Linear DNG files? How do you use them?
Discover how linear DNG files can deliver the ultimate in image quality without overhauling your entire workflow.
Support arrives for Fujifilm X-Trans sensors
DxO’s latest software brings exciting news for Fujifilm photographers: both DxO PhotoLab 6 and DxO PureRAW 3 now process files from X-Trans sensors, producing remarkable levels of detail.

DxO’s new ultra-wide color space is unique
For DxO PhotoLab 6, we created our most versatile and flexible color space yet. Here’s how it works and why it’s better for your photos.